[Answer ID: 12265]
How can I set the function of the Network-USB server on the LinkStation?
Before connecting a USB device to your LinkStation, first connect it directly to your computer so that the driver is installed.
Note:
・For a list of compatible USB devices that can be connected with the Network-USB server, see www.buffalotech.com.
・While the Network-USB server is enabled, the following devices and functions will not be able to use the USB port:
- USB hard drives
- Print server
- DirectCopy
・LS-XHL, LS-CHL, LS-WXL, and LS-WSXL LinkStation models do not support the Network-USB server.
・Maximum number of connectable USB devices: 15 (not including one USB hub).
The number of connectable devices may vary depending on the customer's operating environment.
・If a device is recognized as multiple USB devices, the maximum number of connectable devices is reduced.
・Only one USB hub can be connected.
1.
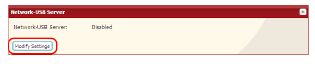
In the Web Admin interface, navigate to [Extensions] - [Network-USB Server] - [Modify Settings].
2.

1) Select [Enable].
2) Click [Save].
Next, follow the procedure on the next page to install Network-USB Navigator.
3. Install "Network-USB Navigator".
For Windows Users
- Insert the LinkNavigator CD.
- The Setup Wizard should launch automatically.
If not, open the CD and double-click [LSNavi.exe]. LinkNavigator will launch. - Click [Options] - [Additional Software Installation] - [Network-USB Navigator] - [Install].
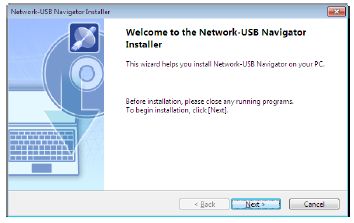
Click [Next]. The wizard will guide you through installation.
Network-USB Navigator installation is complete. Refer to "Network-USB User Manual" for more information.
Macintosh Users
- Insert the LinkNavigator CD.
- Double-click on the LinkNavigator icon in the utility CD.
LinkNavigator will launch. - Click [Install Network-USB Navigator].
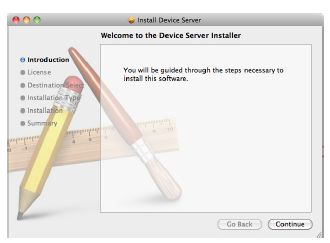
Click [Continue]. The wizard will guide you through installation.
Network-USB Navigator installation is complete. Refer to "Network-USB User Manual" for more information.
Details