[Answer ID: 14682]
How to: Setup Surveillance Camera Recording on TeraStation
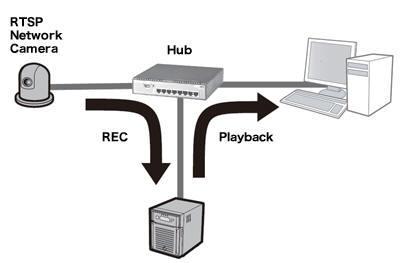
TeraStation can be setup to record Video/media stream from any Network Camera that has built-in support for Real Time Streaming Protocol (RTSP).
Like HTTP, the RTSP protocol is TCP connection base and when TeraStation Surveillance feature is enabled, TeraStation will connect to camera through the RTSP/transport layer (default port is 554) to save the video stream from RTSP enabled network camera.
![]() Click here to see the list of Surveillance IP Cameras with RTSP support.
Click here to see the list of Surveillance IP Cameras with RTSP support.
The Setup for Camera Surveillance feature is done in two separate stages.
| 1. |
Through Management WEB UI: A. Enable Surveillance feature. B. Specify Path/Folder where video data is stored.
|
| 2. |
Windows based Client tools/applications (6 in total) to perform initial license registration and monitor:
• Camera Policies This software to set recording schedule.
• Live Viewer This software lets you view video as it is being recorded. With some network cameras, pan, tilt, zoom, focus, and other remote operations may be unavailable.
• Data Service Policies This software is used to move, back up, and delete recorded video data.
• Vault Admin This software is used to perform license registration, self-diagnosis, check the remaining disk space, and other operations.
• Surveillance Video Manager This software is used to view recorded video data, perform searches, export, and other operations.
• Network Activity This software displays the operating status of the TeraStation.
|
| 1. |
Start by connecting the camera to the NAS network.
|
||||
| 2. |
Refer to your network camera manuals and setup the following:
|
||||
| 1. |
Optional - Create a new user account for access (video stream file) to shared folder. Skip this step if you already have a user account or you do not restrict access to video files.
|
||||||
| 2. |
Optional - Create a new shared folder to store video files. Skip this step if you have already created a shared folder.
|
||||||
| 3. |
Enable Surveillance Camera: From Application, click configure Surveillance Camera.
|
||||||
| 4. |
Click enable
|
||||||


 button next to activate [Surveillance Cameras]. It should change to
  to indicate activated state.
TeraStation is shipped with a license to support surveillance feature for a single camera.
To start the surveillance, the license should be registered/activated using windows application. The setup PC and TeraStation have to be online for the next stage.
| 1. |
Download "Buffalo Surveillance Camera Client Tools Setup" from Buffalo download web site and Install the applications. See support/download: www.buffalotech.com.
|
| 2. |
Click [Start] - [BUFFALO] - [BUFFALO Surveillance Server] - [Vault Admin].
|
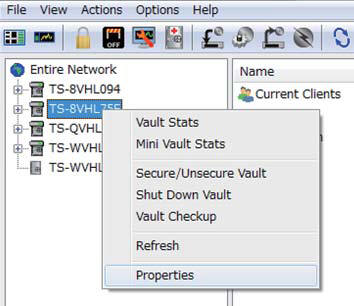
| 3. |
On the right pan tree list, right-click the TeraStation where you want to add the license and click [Properties] in the context menu.
|
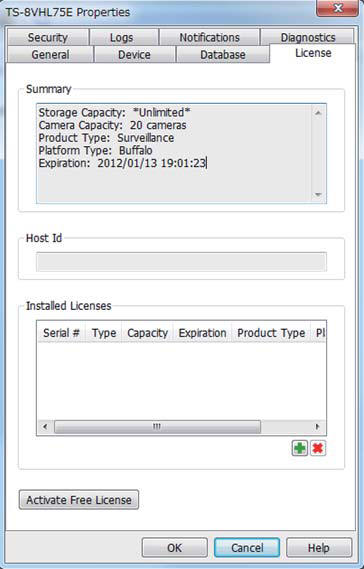
| 4. |
Open the [License] tab, then click [Activate Free License].
Note:
|
| 5. |
Check that the "Surveillance Camera × 1 camera" and "HardDisk" were added to [Installed Licenses].
|
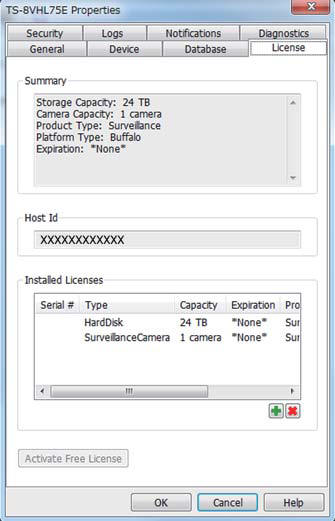
The free license is now enabled.
| 1. |
Click [Start] - [BUFFALO] - [BUFFALO Surveillance Server] - [Camera Policies].
|
| 2. |
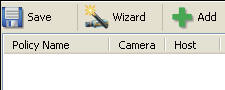
Click Wizard from tool bar menu.
|
| 3. |
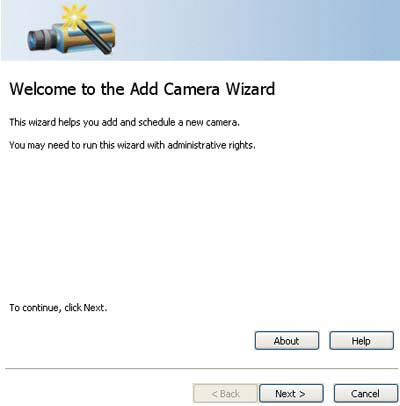
Add camera dialog will be displayed. Click [Next] button to proceed.
|
| 4. |
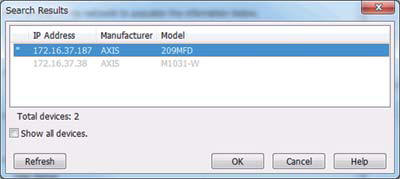
Click [Find Camera] button. Wait for dialog to display list of devices on the network.
|
| 5. |
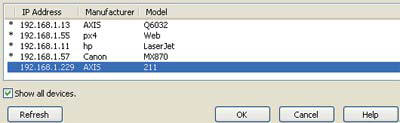
Select the detected network camera, then click [OK].
Note:
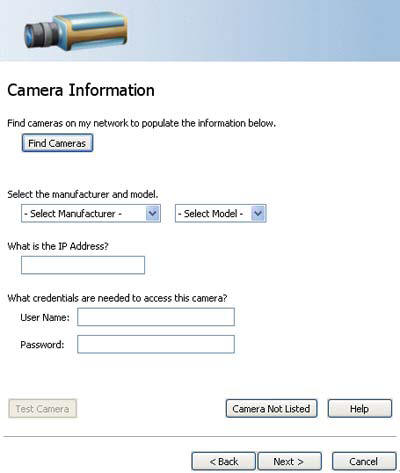
If camera is not listed, manually enter manufacturer and model information. From drop down menu select one of listed cameras and the corresponding model.
|
| 6. |
Enter camera's Administrators account: username and password, then click [Next].
|
| 7. |
Enter the description, then click [Next].
|
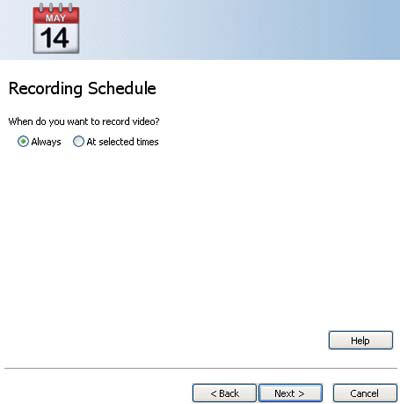
| 8. |
Select the recording schedule, then click [Next].
|
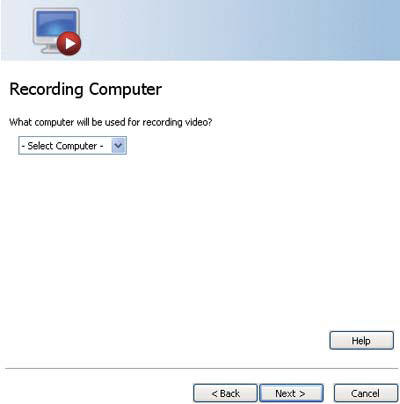
| 9. |
From drop down list, select the Target TeraStation where the video will be recorded.
|
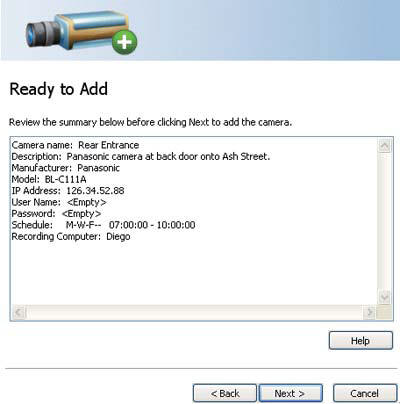
| 10. |
Check the registration information, and if it is correct, click [Next].
|
| 11. |
Click [Next]. An additional network camera can be registered by selecting "Yes" for "Do you want to add an additional camera?"
|
| 12. |
Click [Save].
|
Recording will begin as scheduled.
Details